最近公司的项目开始使用Android Studio开发,发现使用maven的库构建项目确实很方便也不用下载太多的库了,版本控制也容易了许多。于是决定把自己这两年来积累的库分享出来。首先在网上搜了一下教程。就找到了这篇文章http://www.jcodecraeer.com/a/anzhuokaifa/Android_Studio/2015/0227/2502.html 然后按照里面的步骤一步步来。
首先要在https://bintray.com/申请一个账号,之后点击自己的头像进入自己的主页
然后点开Edit

在点击API Key之后,点击箭头所示的位置,会自动复制api key打开Android Studio 项目中最外层的local.properties 将以下内容填入
sdk.dir是默认的不用修改,user是你在网站上注册的名字 apikey就是刚刚复制的内容,粘贴即可
然后在project中的build.gradle中添加连个类库
1 | // Top-level build file where you can add configuration options common to all sub-projects/modules. |
然后在你要分享的module的build.gradle中添加以下两个插件
1 | apply plugin: com.github.dcendents.android-maven |
然后在项目的最下方 添加以下内容
1 | def siteUrl = https://github.com/linwoain/lin_library // 项目的主页 |
之后rebuild以下。网上的教程都是直接使用根目录下的gradlew.bat来执行接下来的命令以至于要重新下载一遍gradle工具。其实如果是使用Android Studio的话默认已经有了gradle工具。一般就在Android Studio的安装目录
其实就像java一样,将java的程序所在文件添加到环境变量即可直接使用gradle命令。我的gradle目录为D:\android-studio\gradle\gradle-2.2.1新建一个环境变量GRADLE_HOME 值为其目录,并在path的末尾添加一句 ;%GRADLE_HOME%\bin 打开cmd并进入工程目录或者在Android Studio的下直接打开terminal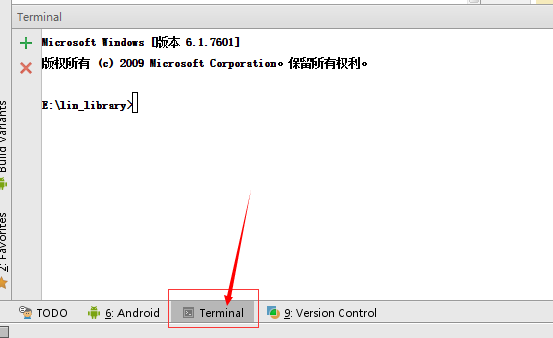
首先执行gradle install命令,如果javadoc生成无误,就可以执行gradle bintrayupload提交。
提交完成后就可以在网站上看到你提交的内容。然后到https://bintray.com/bintray/jcenter
点击include my package 查询到自己提交的包。点击后提交comment。然后等待通过即可。若未通过会发信息提示你。
最后讲一讲我遇到的问题,刚开始的时候一直报错
失败原因Cannot call getBootClasspath() before setTargetInfo() is called
在网上找到的答案是gradle插件版本太低,请教了以为大神并在他的githubhttps://github.com/fyales/tagcloud/blob/master/build.gradle 上看到了差别 classpath com.android.tools.build:gradle:1.1.2 我当时的版本号为1.1.0所以出错。据说是1.1.0的bug。然后在rebuild的时候一直报错peer not authenticated 试了各种办法无法解决。没想到第二天就可以正常使用了。可能是当时服务器问题。
最后遇到了最坑爹的问题 。因为要提交库的话必须包含javadoc与javasource。因为javadoc默认以gbk编码,而我的项目是以utf8编码,所以一直报gbk无法映射的问题。最后在https://www.virag.si/2015/01/publishing-gradle-android-library-to-jcenter/ 这里找到了解决办法。在 javadoc中添加一句 options.encoding = UTF-8 (上面以修改,若你是以gbk编码,请删除此句)然后就是巨大的工程,写的注释不标准是通不过的,以前写的方法注释中有未写明参数含义或者返回值都会报错。还有自己写的自关闭的标签(如单独的<br />)。要不就不写注释要不就必须写标准。耗费了大白天的时间修改。最终全部修改完成。然后才提交成功。
最后附上我的可以提交成功的github上的项目,可以略作参考:https://github.com/linwoain/lin_library
使用网站https://www.jitpack.io/
创建自己的github仓库(必须是公开的)
打开jitpack输入你的仓库在github上的地址,点击Lock up
将生成的坐标添加进要使用的工程(以我的工程lin_library为例)
在根目录下
build.gradle添加1
2
3
4
5
6allprojects {
repositories {
...
maven { url 'https://www.jitpack.io' }
}
}在
app下build.gradle添加1
2
3dependencies {
compile 'com.github.linwoain:lin_library:1.1.2'
}添加maven仓库步骤一致,但下面的依赖坐标要在jitpack的页面中获取了